Here I’m going to show how to create the frames for a simple top to bottom scrolling cel animation.
In the next post I’ll show how to use ffmpeg to output the movie.
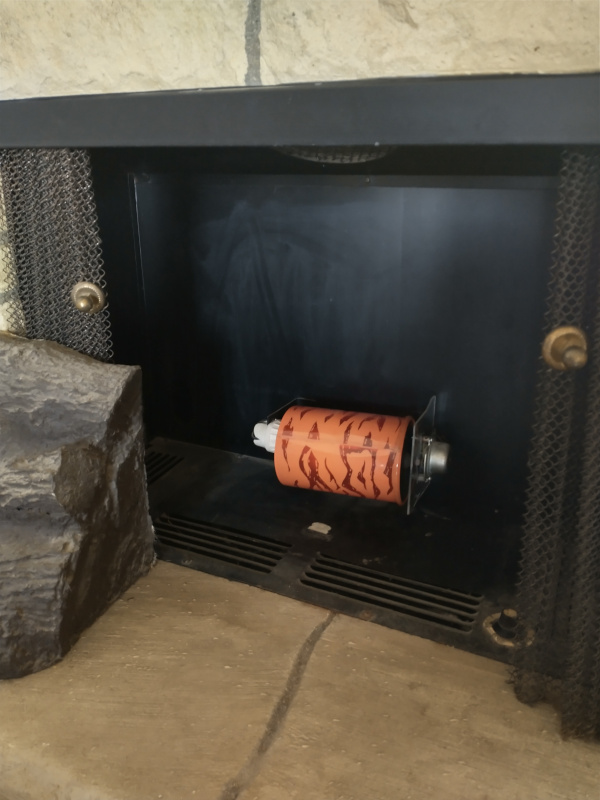
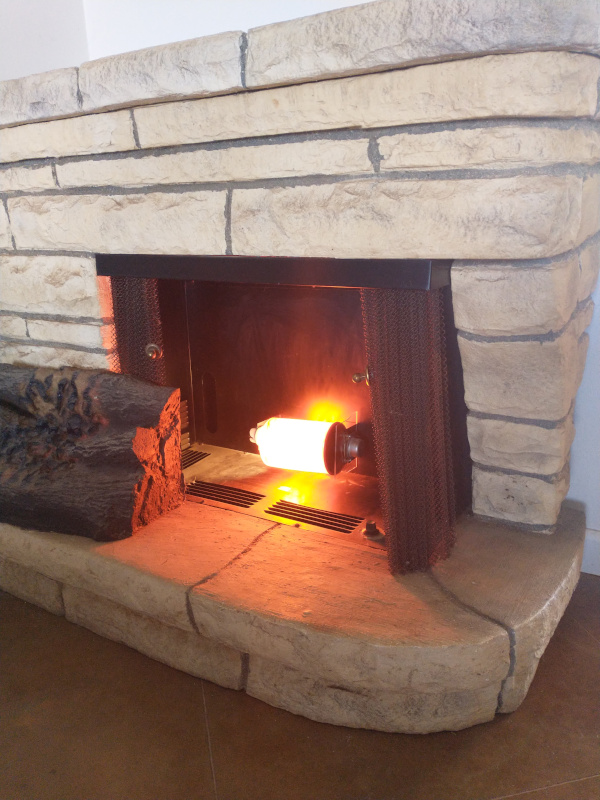
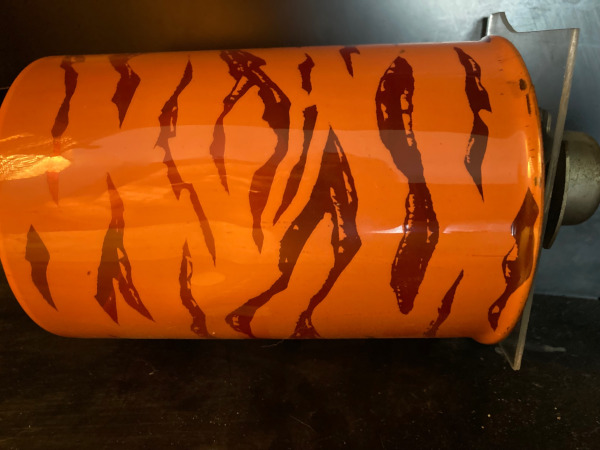
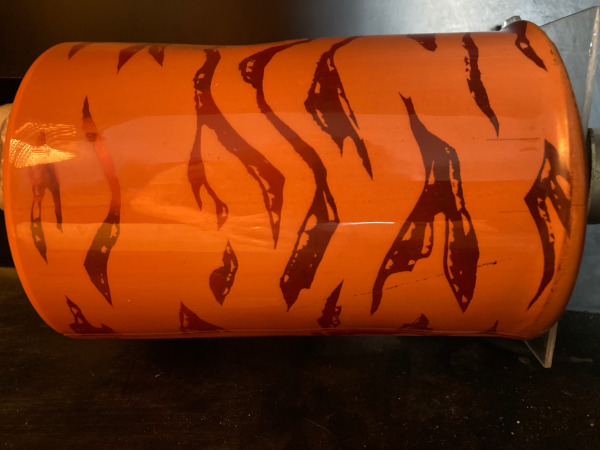
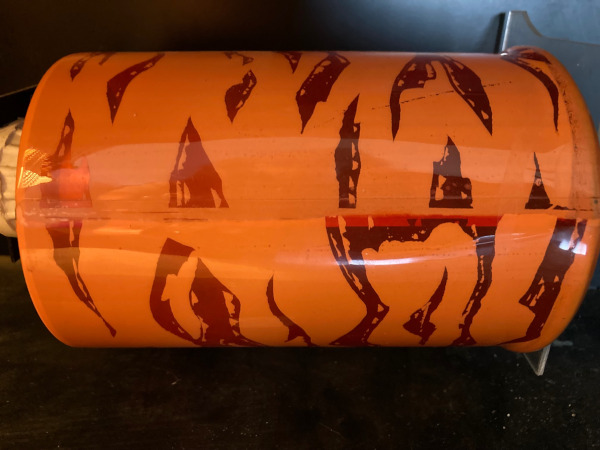
I was inspired by the retro fireplaces of the 1950’s. Some of them have a backlit rotating drum which simulates flickering flames.
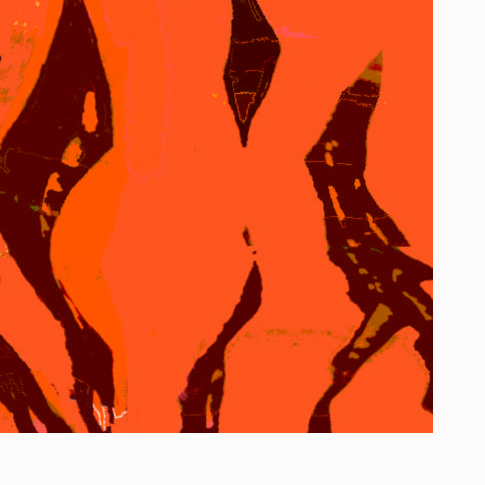
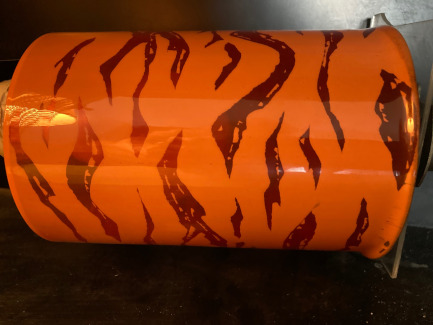
This one has a groovy pattern which I used as reference.
When setting up image dimensions for a top to bottom loop, you want to make the height dimension a multiple of the number of frames in the animation.
image height = x * (# of frames)
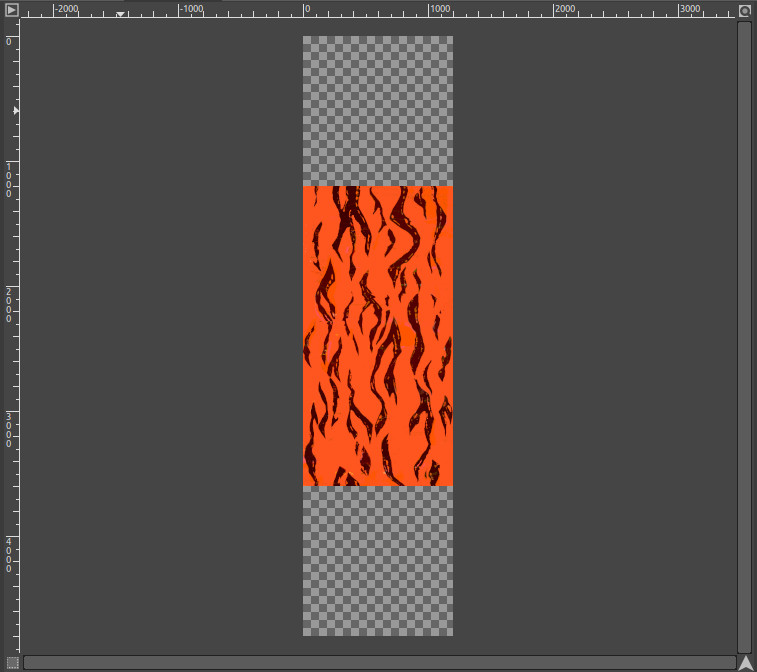
I was going with 24 frames, and I needed a tall image area, so I used 1200 x 2400 pixels as my final image size.
File set up
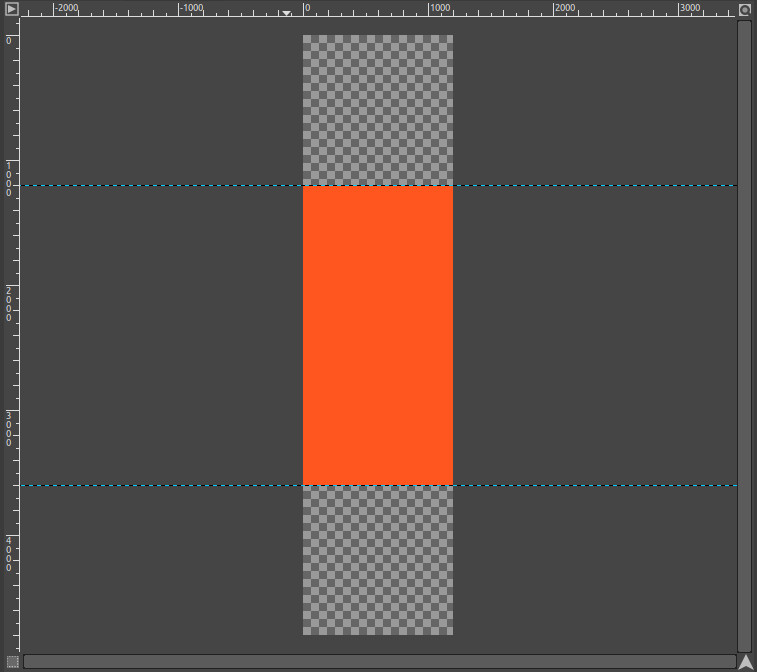
Open a new GIMP file with your final dimensions and fill the background layer with the ambient color of your flames.
Double the canvas height dimension. (Image_Canvas Size, keep the image area centered). This gives some top and bottom space to work in.
Add Guides at top and bottom of the image area for reference. (Move tool_Pick a Layer or Guide, then drag a guide from ruler bar. Watch the pixel postition counter for accurate positioning.)
Create the seamless image
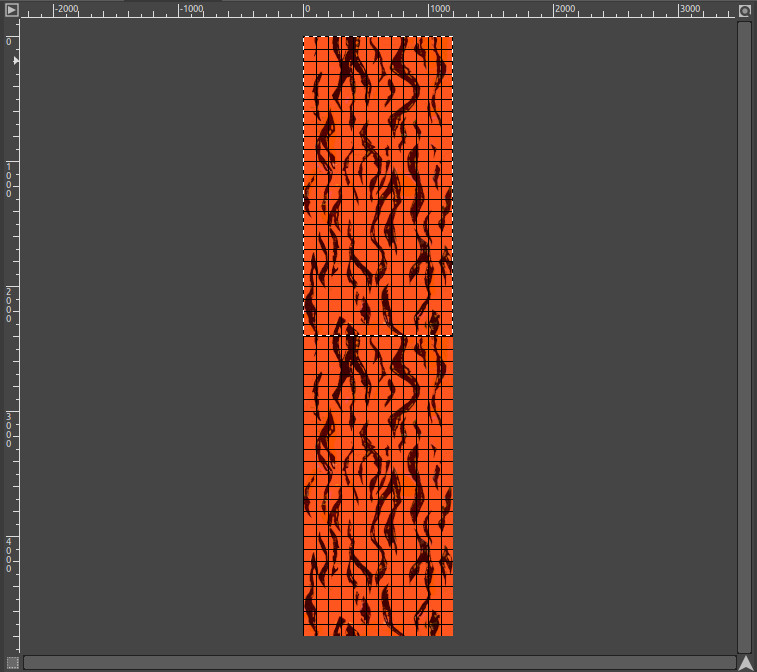
Begin piecing together flame shapes in layers to create a top to bottom seamless image.
Duplicate the image and set the grid
With the seamless image done, move it to the bottom half of the canvas. (View_Snap to Canvas Edges).
Duplicate this layer and move the copy to the top half of the canvas. Save the alpha channel of this layer. (Layer_Transparency_Alpha to Selection, then Select_Save to Channel).
Merge the layers into one double height layer.
Next, set up a grid with Y height set at your final image height divided by the total number of frames
grid height = image height / (# of frames)
Turn on grid snap. (View_Snap to Grid).
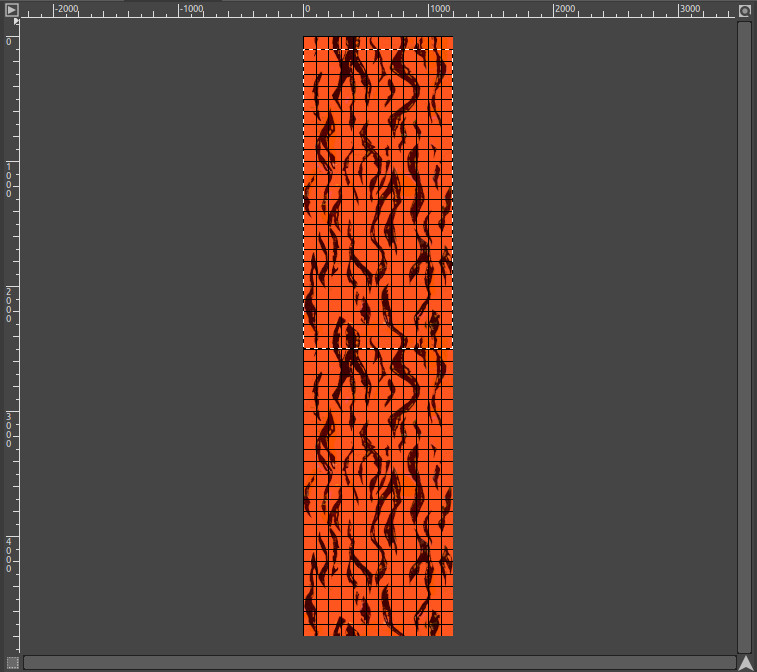
Save the document at this point.
Cut out and export the frames
Create a folder for the flames images.
Load the image area selection. (Channels menu, right click on Selection Mask copy_Channel to Selection).
Go back to Layers menu, make the double height layer active, then Copy and Paste as New Image.(Ctrl+C, Shift+Ctrl+V)
Export this image as Frame_01 (for ex), as either a png or jpg.
Important note for Linux users: There must be no spaces in the name, and all images must have the same number of numeric digits.
For the next frame, move the selection down to the next grid line. (Move menu_Move selection)
Copy, Paste as New Image and export as Frame_02. Repeat.
Once all the frames are done, sit back and have a Flaming Russian.
Questions? Comments? Concerns? Leave them in a comment and I’ll do my best to address them. 🙂

Very Detailed description. well done.
Thanks for the feedback!